What does an Neutral Density (ND) Filter do?
ND filters are tinted filters that you can place in front of your camera lens to reduce the amount of light that enters the camera. There are many uses for an ND filter, the most notable being able to shoot long exposure photography, being able to shoot wider apertures in bright light or get creative effects.

What does an ND filter do?
An ND filter works by reducing the amount of light that is able to enter the camera. In doing so it enables you to get creative the two of your camera settings, namely aperture and shutter speed.
Aperture
If there is less light, it means that you can open up your aperture when shooting in bright light to get a shallower depth of field. This is particularly useful if shooting outdoors during the day but still want that shallow DOF. The same technique can be applied for videography if you need to reduce the amount of light but still be able to shoot at wide apertures. See Variable ND’s below for a good video option.
Shutter speed
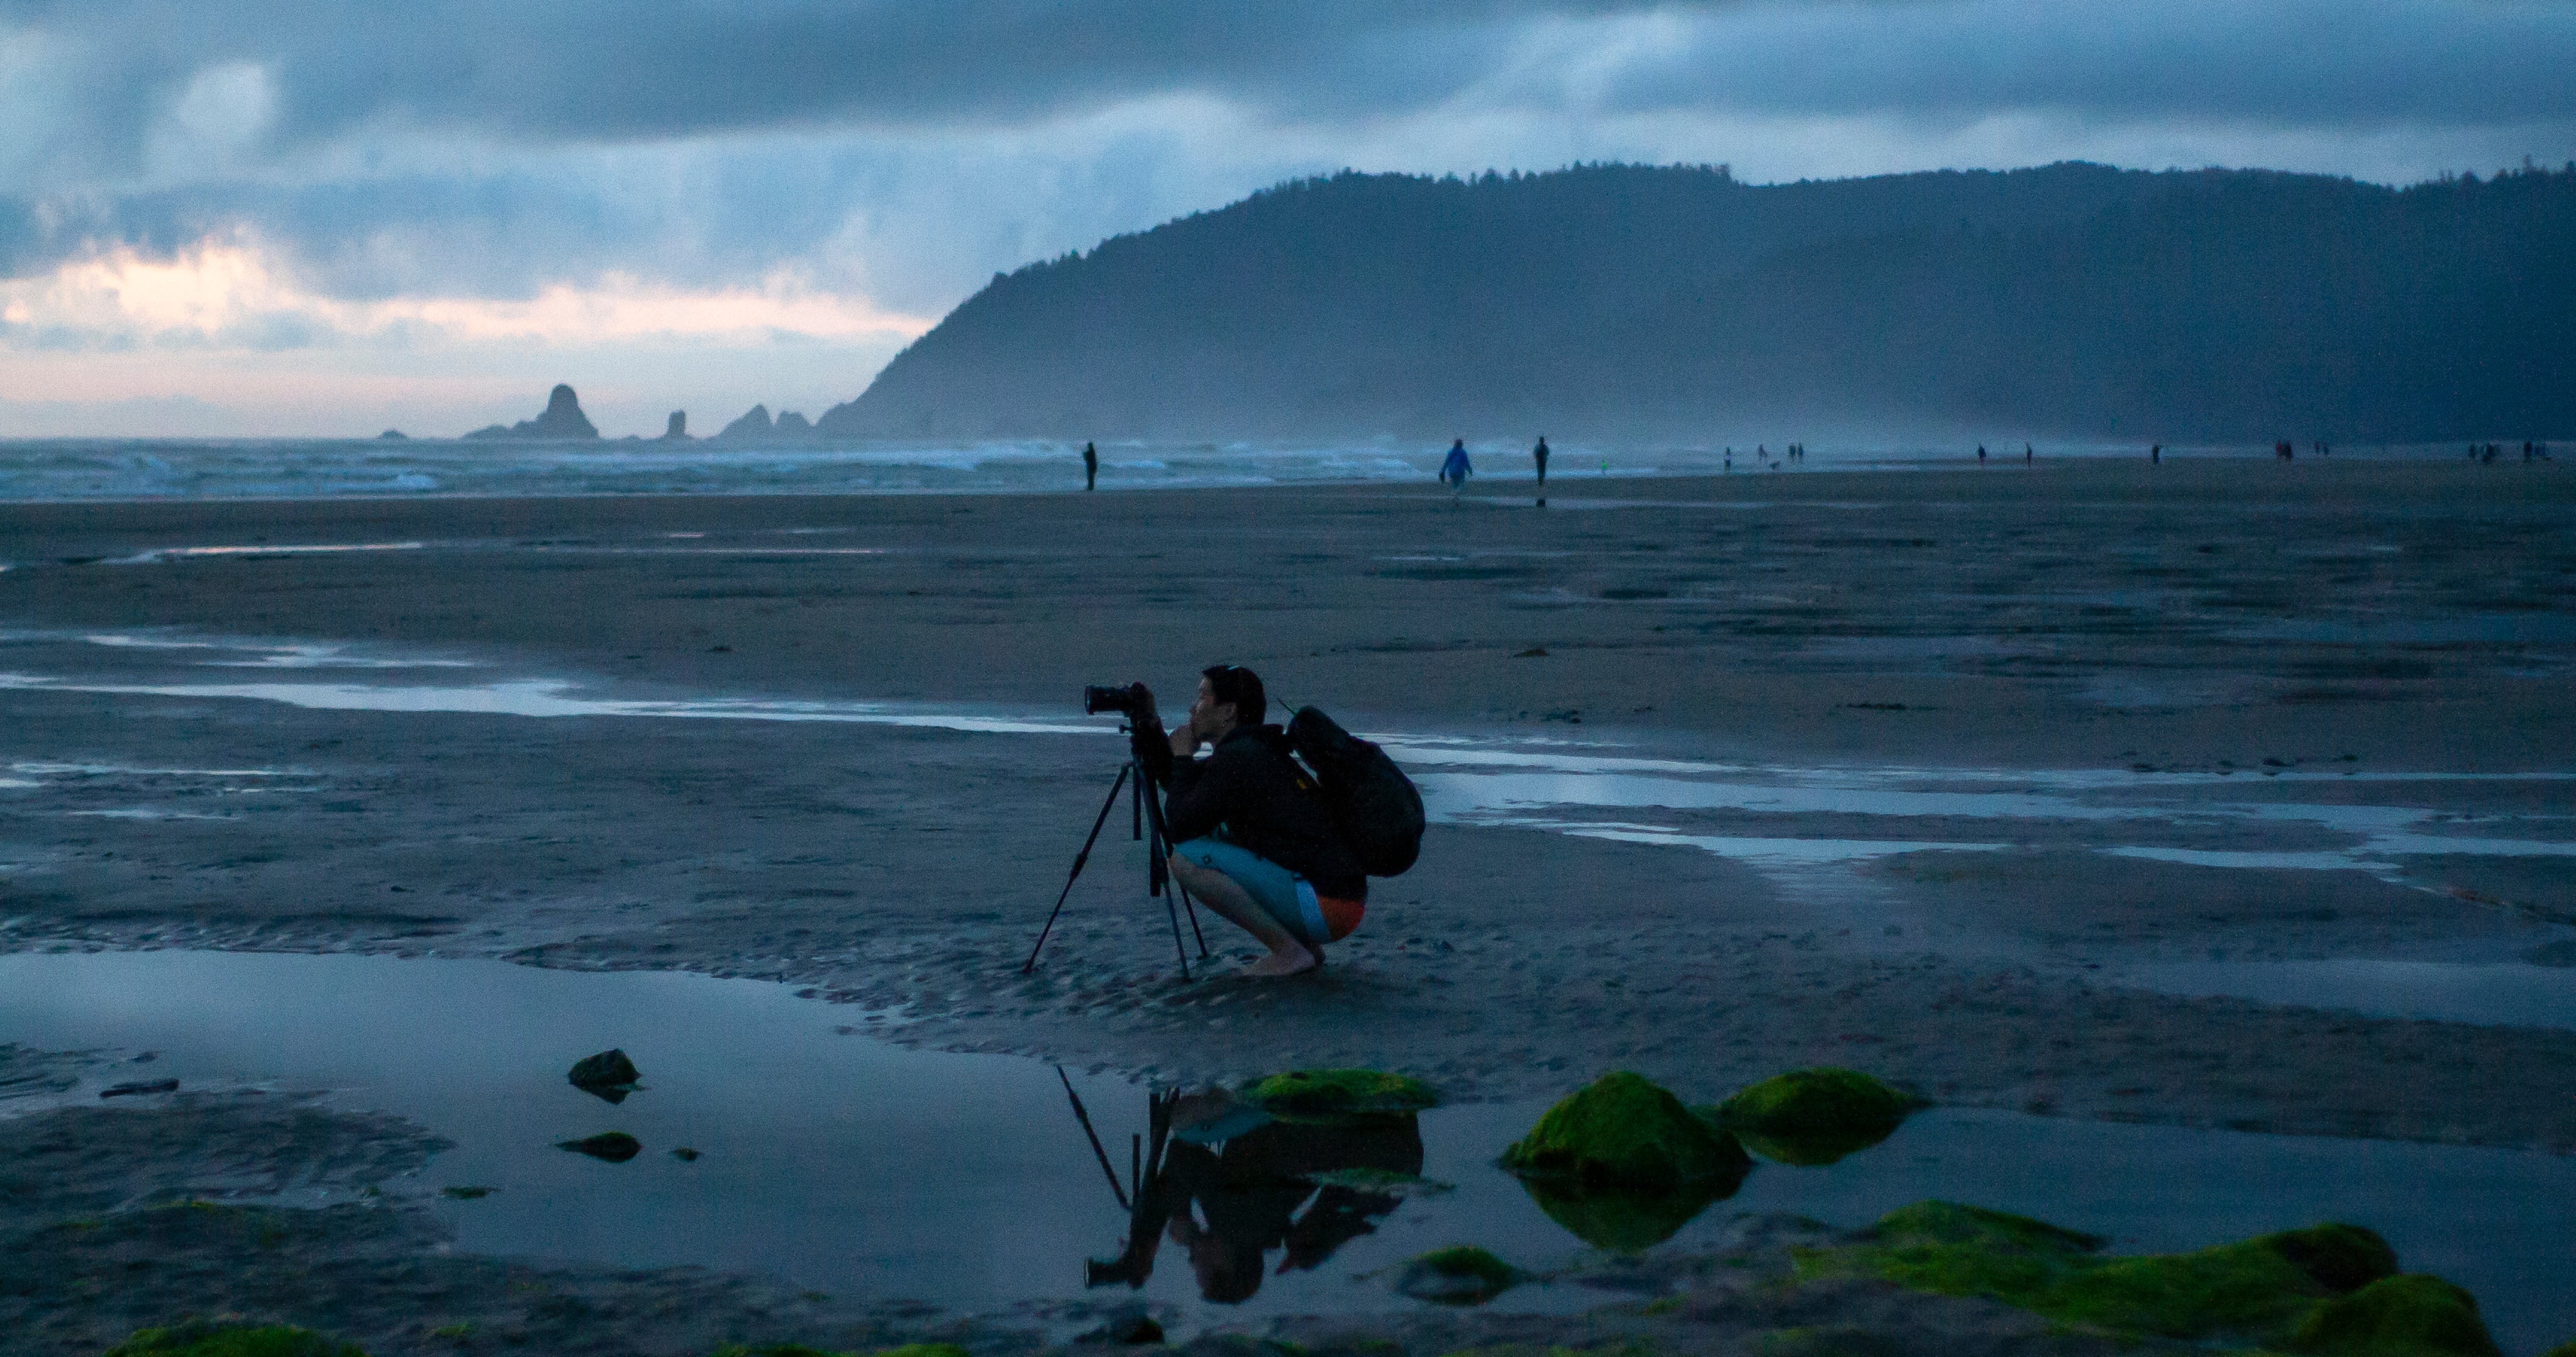
Another popular reason to use an ND filter is to enable you to shoot at slower shutter speeds and create ‘long exposure’ images where anything that moves will be blurred. It can also be used to help reduce the overall exposure of your video if you want to observe the 180 rule of shutter-speed to frame rate without overexposing your shot.

ND Filter Strength
ND Filters come in varying strengths. Here is a chart explaining what the various numbers mean and how to decide what is best for you.
| ND Number | Light Reduction | Best time to use |
|---|---|---|
| ND2 | 1 f/stop | Low Light |
| ND4 | 2 f/stops | Low Light |
| ND8 | 3 f/stops | Low Light |
| ND16 | 4 f/stops | Low Light |
| ND32 | 5 f/stops | Normal Light |
| ND64 | 6 f/stops | Normal Light |
| ND128 | 7 f/stops | Normal Light |
| ND256 | 8 f/stops | Bright Light |
| ND512 | 9 f/stops | Bright Light |
| ND1000 | 10 f/stops | Bright Light |
| ND10000 | 13 f/stops | Bright Light |
What are the Different Types of ND Filters?
ND Filters come in a few varieties and flavours to suit your needs. Here is a brief summary of each type.
Fixed ND Filters
The first and most common is a fixed ND filter where you will purchase a filter (Eg: ND4) that is a uniform ND4 all over the filter. These are best if you need a fixed reduction of light across your entire image.

Variable ND Filters
Variable filters offer one advantage is that they cover a range of ND values (typically from ND2-ND1000). This gives you more flexibility in how much light enters the camera and you can adjust it on the fly without having to change out your filter for a different strength.

This does unfortunately come with a drawback in that to achieve the variable quality, if you go too far you will experience ‘cross hatching’ where the light reduction is not uniform across your image and you will have a darker ‘x’ across your image. See examples here: “Cross Hatching Examples”
Good quality ND filters will have hard stops that will prevent you from going too far, thus minimising or reducing this effect all together.
These filters are great for people who are shooting in changing environments and do not have time to switch out filters all the time to adjust. They are great for photographers and videographers alike.
ND Graduated Filters
The third option for an ND filter is the ND Graduated filter. This offers you a graduated reduction of light across the image. These filters are very popular with landscape photographers who may wish to reduce the brightness of the sky and background of an image without impacting the darker foreground of an image.

How to Choose the Right Filter for Your Needs?
When it comes to choosing what filter will best suit your needs, it often comes down to a matter of preference based on what you are shooting and what your shooting style is. But here are some basic guidelines that you can use as a starting point.
Landscape Photography
If you are looking to improve your landscape images, you can look at either a fixed ND filter or the ND graduated filters (or a combination of the two). If you would like to shoot long exposure photos, then we would recommend shooting with fixed ND filters that you stack for the best effect. You can look at an ND filter kit like this one: ND Filter Kit

Filming / Cinematography
For the majority of film makers who shoot on the go, then we would recommend investing in a good quality Variable ND filter, like this one, or this one. This will enable you to be flexible while shooting and not have to worry about swapping out filters mid-shoot.

Bright Light / Outdoors
If you are looking for the best results when shooting in bright light / outdoors and you are not pressed for time, then consider using a fixed ND filter for the best quality. Like this one.
If you need a more portable setup, then consider a Variable ND Filter like this one.
Again, your mileage may vary depending on your personal preference and style of shooting.

Top Tips When Using ND Filters & Must Have Accessories
Here is a collection of tips & tricks to get the most out of your filters and the best results in your image.
- Make sure you carry a cleaning kit with you as filters tend to get dirty when you handle them. Invariably you will touch them by mistake or get dust / mist on them when shooting outdoors for long periods of time (ie: for a long exposure shot). Keeping a cleaning kit on hand will ensure you can clean them between shots and get the best results.
- Invest in a good filter holder / bag to protect your filters. Most filters will come with a basic holder, but if you want to protect your gear and make it last as long as possible, then we highly recommend investing in a good filter pouch. There are many available, but we recommend this one from Cokin.
- Be wary when purchasing cheap filters. Often they compromise on quality to bring the price down. Not only will you lose image quality when using one, but you may also get a filter that will introduce a colour cast to your image. Generally the better quality the filter, the more neutral the colour cast will be. But be sure to do your research on the specific filter you are eyeing out before purchasing.
- If you are purchasing Fixed ND filters, a good way to save money is to purchase a filter with the largest diameter of your lenses (eg: a 95mm filter) and get step down rings to adapt that filter to the rest of your lenses. This way you avoid having to purchase multiple versions of the same filter for your different lenses.
- Filters come in two main configuration options, either a screw in filter, or as external filters with an additional holder that attaches to the front of your lens. Which style you choose depends on your personal preferences. However if you are looking to stack filters, then we would recommend getting a filter kit with an external holder to prevent vignette.
- And of course, if you have made it this far and still aren’t sure which set of filters is right for you, we have a wide variety available in store. You can always pay us a visit and come and see them for yourself in person while chatting to our extremely knowledgeable sales staff who can answer all of your questions.
Our top 3 Filter recommendations
To summarise, here are our top 3 filter recommendations to get you started:
- For the landscape photographers: The Cokin Graduated Filter Kit
- For those looking to dip their toes into long exposure: The Cokin ND Filter Kit is for you
- For Videographers: The Nisi Variable ND Pro is a great option
- For step-down rings: This Kit from K&F will cover a wide range of options.


